
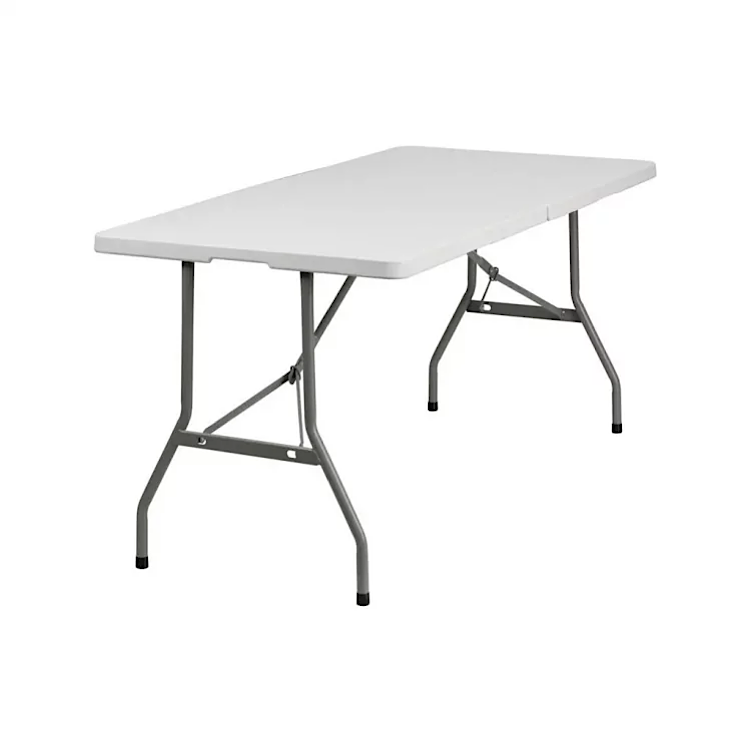
Turn the inspiration picture into table sections
Start by identifying the individual tables that would make the row. A continuous tablecloth in a photograph can hide several separate rental tables. Confirm the selected model’s actual length, width and height, along with the venue’s usable floor dimensions, before drawing a row to scale.
The six-foot versus eight-foot comparison helps choose a section length. This guide starts after that choice and focuses on how several sections work together. Match the models where possible; a mix of widths or heights can interrupt the tabletop and linen line.
Calculate the length, then add the occupied space
Three nominal six-foot tables placed end to end form an 18-foot tabletop row. Three nominal eight-foot tables form a 24-foot row. Those examples describe the table tops only. They do not include chairs at the ends, occupied chairs along the sides, service space or circulation around the arrangement.
Swipe the comparison table to see every column.
| Arrangement | Calculation | Nominal tabletop length |
|---|---|---|
| Three six-foot sections | 3 × 6 feet | 18 feet |
| Three eight-foot sections | 3 × 8 feet | 24 feet |
| Two six-foot sections in each of two rows | 2 × 6 feet per row | Two 12-foot rows |
Measure the full arrangement with chairs in use and routes around it. Have the venue confirm its required aisle, exit and access clearances. A tabletop calculation is not an occupancy approval or a promise that a layout fits.
Recount the seats after joining the sections
Do not multiply a standalone table’s advertised seating by the number of joined tables. The short ends between adjoining sections are no longer available for end seats. Table legs and joins may also affect where people can comfortably sit along a side.
For an arithmetic example, suppose a separate table’s proposed plan includes three seats on each long side and one at each short end. Three separate tables would show 24 seats. Joining the short ends removes four internal end positions, leaving 20 before checking the real chair and leg clearances. This example is not a capacity rating for a CFER product.
Draw each intended chair on the plan, including any position needing extra approach space, rather than assigning guests to a nominal total. Ask the team to review the chosen table and chair combination.
Plan the linen at every join
Decide whether each table receives its own correctly sized cloth or whether the decorator proposes a continuous treatment. Individual cloths can create visible overlaps and hanging fabric at the joins. Discuss how those sections will be dressed before assuming the line will look like one uninterrupted surface.
A runner is a decorative layer, not a way to connect or support tables. Do not clamp, tie, modify or attach rental furniture without approval. Use the linen size chart for each selected table and confirm the final treatment with the rental team and decorator.
Test service routes before committing to one long row
Imagine a guest leaving the middle seat, a server reaching a place setting and someone approaching the buffet. A single long row may suit the visual plan while making those movements awkward. Two shorter rows can create another route between groups, but that opening also needs real space in the floor plan.
Keep food service and extra working tables in the drawing. Use the serving-table checklist for those separate stations. If a tent is part of the plan, include the entire occupied layout and ask the team to review it instead of selecting a tent from tabletop area alone.
Label the sections in the final rental brief
Give each row and section an ID, such as A1, A2 and A3. Record the table model, chair count, linen and intended use for every section. Include the measured room or tent layout, where guests enter and who will place the furniture.
Send that brief with your event date and address in Mount Dora, Eustis, Tavares, Apopka, Leesburg or Clermont. Browse tables and chairs, then request a quote that identifies the actual quantities and any agreed setup services. The drawing helps explain the plan; it does not reserve equipment by itself.