List the jobs before counting the tables
Write down each action at arrival: look up a name, confirm a registration, hand over a badge, answer a question or direct someone to the next room. Put the materials needed for each action on the list. A laptop, printed list and badge trays use a different work surface from a simple welcome sign.
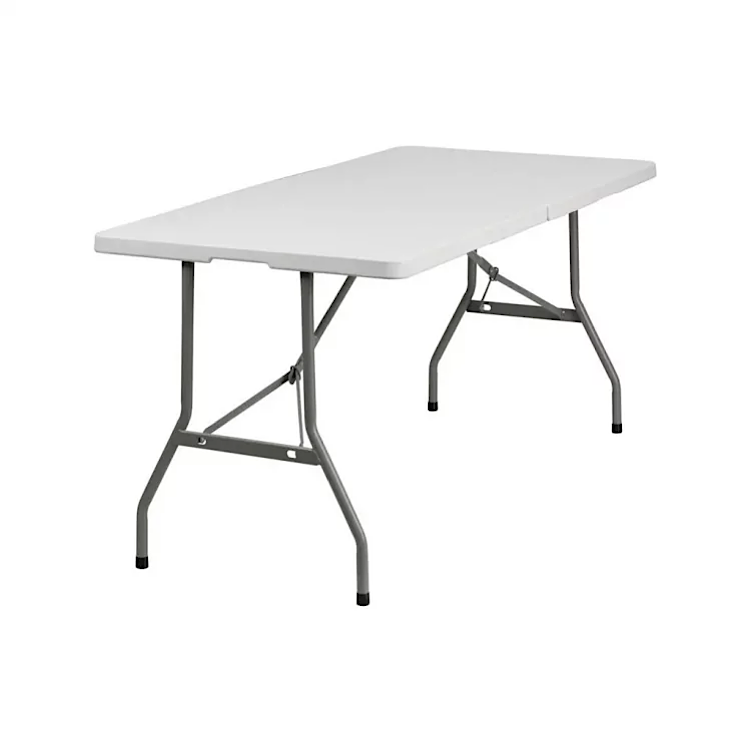
Use the actual dimensions of your materials when comparing rental tables. A table’s length alone does not tell you how much working room remains after equipment is in place. Plan space for staff to reach items without leaning across the customer interaction.
Separate quick check-ins from longer conversations
If most arrivals only need a name check but a few need detailed help, consider a separate help position. That could be another part of the table or a distinct table nearby, depending on the available room. The aim is to keep one complicated question from occupying the only place routine arrivals can be served.
This is a planning choice, not a promised processing rate. How many staff or check-in positions you need depends on your arrival pattern, registration system and the work each attendee requires. Ask the event organizer to review the process before translating it into rental quantities.
Draw the route through the entrance
Mark where the line begins, where guests approach the table and where they leave after checking in. Keep the queue from covering doorways or crossing the route to restrooms and event seating. Include doors at their open position on the sketch, and review the arrangement with the venue.
Think about guests who need to approach while seated or who cannot stand in a long line. Provide a way to get assistance and review table access with the venue. Do not treat a tall cocktail table as the only registration surface.
Build a task-based rental worksheet
| Position | What to measure | Rental details to confirm |
|---|---|---|
| Main check-in | Devices, name lists, badge trays and staff work space | Table dimensions, staff chairs and linen fit |
| Help or changes | Materials needed for longer conversations | Whether a separate table and chair are needed |
| Materials pickup | Programs, bags or other attendee items | A surface that does not block check-in |
Count staff chairs separately from attendee seating. If you are already renting furniture for the main room, label registration items as their own group so they do not disappear into the dining-table count.
Check the table, linen and equipment together
A 6-foot-versus-8-foot table comparison helps narrow the dimensions. After choosing the exact model, select the linen based on that table and the drop you want. Keep fabric clear of the staff work area and review how guests will approach the table.
Confirm power, internet access, payment devices and any queue-control equipment with the people providing them. Those services are not implied by ordering a table and chairs. Describe any equipment that affects the layout, but keep each supplier’s responsibility clear.
Put the arrival plan into the event quote
Send the event date, address, check-in hours, table dimensions, quantities, staff-chair count and linen choices. Add a sketch of the entrance and note the window available for setup before the first attendees arrive. Keep the registration schedule separate from the event’s advertised start time.
For events in Mount Dora, Eustis, Tavares, Apopka, Leesburg and Clermont, CFER can review the furniture list with your quote. Pair this checklist with the meeting and workshop layout guide when you are also planning the room beyond registration.