Get the actual booth drawing from the organizer
Ask for the assigned width and depth, which sides are open to visitors and whether furniture is already provided. Check columns, walls, doors and any equipment that takes space inside the footprint. A booth’s advertised dimensions are not automatically the dimensions available for your furniture.
Find out whether the organizer has rules for outside rental deliveries, display height, queues and shared aisles. Keep the approved booth plan with your order. CFER’s trade-show rental page brings the relevant collections together; this checklist helps you turn that selection into a workable furniture list.
Choose how visitors will approach
Swipe the table to see every column.
| Arrangement | Useful when | Check before ordering |
|---|---|---|
| Table near the front | You want a clear counter for a brief conversation. | Staff entry, chair space behind it and where visitors wait. |
| Table toward the rear | Visitors need to step inside and explore a display. | An obvious entrance and enough open space to approach. |
| L-shaped tables | Display and paperwork need separate surfaces. | The inside corner, access behind both tables and the remaining entrance. |
These are planning options, not guaranteed fits. Draw the chosen tables to scale and get the layout reviewed for your assigned location. Do not use a shared aisle as extra booth space.
Measure tables, occupied chairs and your working area
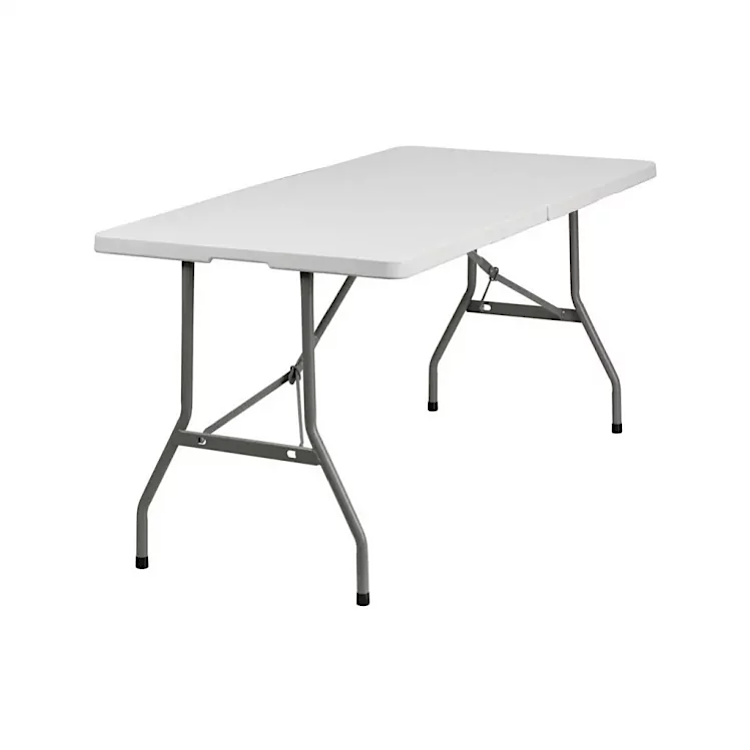
A 6-foot table is 72 inches long; an 8-foot table is 96 inches long. Check the selected product’s width as well. The extra two feet of display length can be useful, but may leave too little room for a person to enter behind the table. Compare the two rectangular table sizes before committing.
For an illustrative 10-foot-wide footprint, an 8-foot table leaves 2 feet of total width unoccupied by the tabletop. That is arithmetic, not approval for a passage or a safe working arrangement. Chairs, table depth, signage and the organizer’s access requirements still have to be accounted for.
Count staff and consultation chairs separately
List how many staff members will be seated at the same time and whether visitors need seats for longer conversations. Do not automatically order a chair for every team member if most will be standing, or omit visitor seating when a seated consultation is central to the booth’s purpose.
Place the actual chair positions on the sketch, including space to stand up and step aside. Compare available chair styles with the work people will do. Keep the check-in or payment surface reachable without requiring visitors to move through staff storage.
Plan covers and storage as part of the same layout
Choose linen size after the table dimensions and desired drop are settled. A long cloth may create the appearance you want at the front, but the fabric should not become a loose obstacle where staff stand or move. Ask about the selected cover’s fit and record each size, color and quantity.
Allocate a defined place for boxes, personal bags and replacement stock within the booth. Do not assume a table or cloth supplies secure storage. Signs, stands, lighting, power and display structures need their own arrangements; renting a table does not provide a complete exhibit system.
Turn the sketch into one clear request
Send the event date, venue address, booth number and dimensions, table sizes and quantities, staff and visitor chair counts, and linen selections. Include the organizer’s load-in and collection windows and any outside-vendor instructions. If several booths share one order, label each booth’s equipment on the list so it can be reviewed clearly.
CFER serves Mount Dora, Eustis, Tavares, Apopka, Leesburg and Clermont. Browse linens alongside your tables and chairs, then request a quote. Availability, delivery or eligible pickup, setup services and the final total are confirmed for your specific event.