
Start with what you want to see.
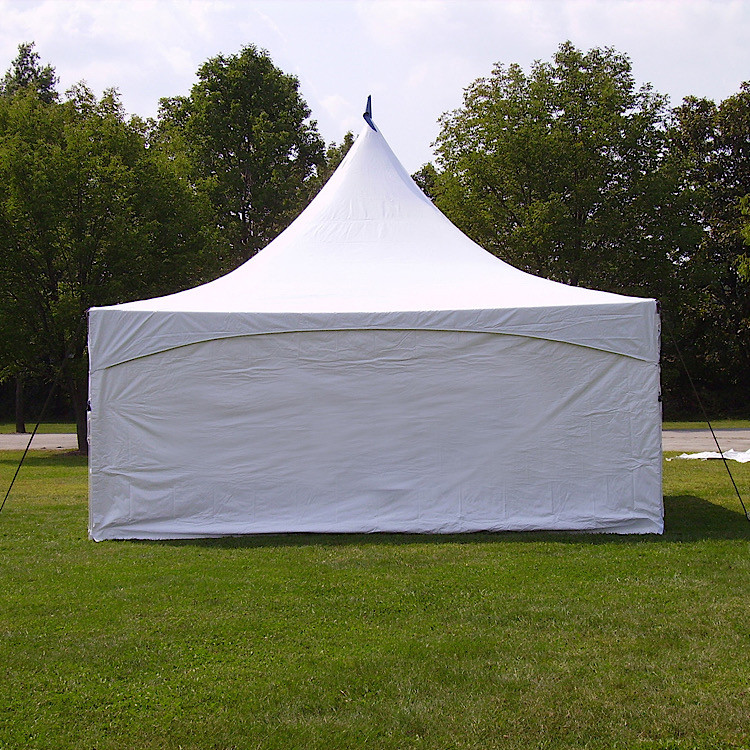
A solid sidewall is opaque. It can create a more uniform visual background along a side of the tent. A windowed sidewall has window panels that keep some visibility through that side. The choice is about the view and the appearance you want, rather than treating every side as identical.
Imagine the event from a seated guest’s position. One side might face a garden you want to see, while another faces a service area you would rather keep out of the dining backdrop. Mark those different views on a simple sketch before selecting accessories.
| Your preference | Option to discuss | Detail to confirm |
|---|---|---|
| A continuous opaque background | Solid sidewall | Which sides need that visual separation? |
| Window panels and views beyond the tent | Windowed sidewall | What will guests see through that side? |
| An open approach into the gathering | A planned opening or open side | Where will guests and vendors enter? |
Give each side a name.
Label the sides on your sketch using landmarks: house side, garden side, parking side and catering side. For each, write the desired treatment and any doorway or route that must remain usable. This is clearer than requesting “three walls” without showing where they should go.
Include the guest arrival route, service route and access to restrooms. Share the sketch with the venue and installation team so openings can be reviewed with the full event arrangement. A visual preference is a starting point, not an instruction to close a side without checking its function.
If you are also placing buffet or drinks tables, show those on the same drawing. Guests should not have to work out whether a gap behind a serving table is the entrance.
Check compatibility on the selected tent.
The current 20 × 20 high-peak frame tent and 20 × 40 high-peak frame tent list solid and windowed sidewall options. Use the options on the actual tent you intend to rent. Do not assume an accessory offered for a high-peak frame tent is available for every pop-up or other tent.
The listed accessory dimensions and quantities should be checked against the installation plan. Counting “one per side” can be misleading when sides have different lengths or an entrance needs to remain open. Ask the team to confirm how many sections your selected arrangement needs.
If you have a specific photo in mind, send it as a style reference and identify the parts you like. The quote should still name the actual tent and accessories being supplied.
Consider the event after daylight.
Review your lighting plan alongside the wall placement. Ask where the lights will go and what effect the final wall arrangement has on the appearance of the space. Use the tent and bistro-lighting guide for the lighting discussion; sidewalls and lights are separate choices.
Sidewalls do not replace a site or weather review. Tell the installer the intended layout and follow the confirmed installation plan. Do not plan to change or remove installed components on your own during the event. Any needed adjustment should be discussed with the team.
For surface and anchoring details, refer to the tent-surface planning guide rather than choosing sidewalls as a solution to an unsuitable setup area.
Use a clear sidewall request.
A useful request sounds like this: “We are considering the 20 × 40 tent. We would like a solid visual background on the parking side, windowed sections facing the garden, and a guest entrance on the house side. Please review the attached sketch and confirm the sections and openings.” This is an example brief, not a pre-approved installation.
Include the event date, address, tent size and a photo of each side of the site. CFER can review the requested accessories and availability for events across Central Florida, including Mount Dora, Eustis, Tavares, Apopka, Leesburg and Clermont.
Request a quote with the sidewall preferences clearly named. Your final quote should identify the accessories and quantities so the setup matches the plan you discussed.